After which it was time to take photographs. I did take photos in the lecture however they did not come out as expected therefore had to retake them when I got home. As you can see below, the photos I took are more than suitable for the task.
With these photos, I took them into Photoshop and then had to adjust them to make them symmetrical.
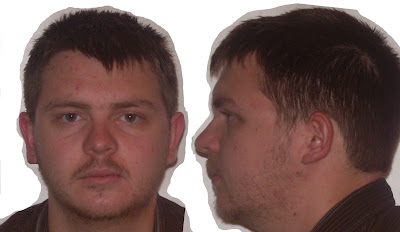
It is common knowledge that the human face is not symmetrical. Therefore in most cases adjustment will be necessary to align features such as ears, mouth and the eyes.
My case was no different, and I found that no matter what angle I moved the picture to or how much I played with the photo in lens correction there was always a one ear bigger than the other.
This meant that using a pen tablet I had to carefully sketch around my ear using the lasso tool, cut it to a new layer and re size the ear. I then had to use the clone Stamp tool to make it merge into the background.
After I had done this I went back to the lens correction mode and adjusted the angle slightly -- besides this there was not too much editing of the initial image.
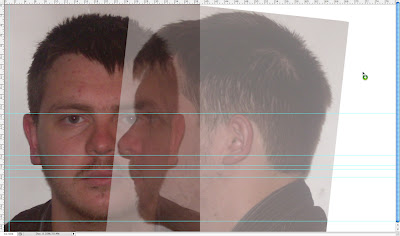
I then imported the second image which is a profile view of my face and then aligned it alongside my other face image.
This required the use of the guidelines built into Photoshop. I then used the transform tool to make sure that it aligned fully.
I then moved onto the next stage, which was to draw lines where are features in my face e.g. the crow's feet and the cheekbone. I did this in a new layer using a blue colour and a stage took quite a while because it's important to get the lines in the right place.
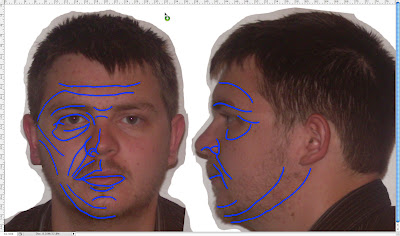
Once I had done this to the first image I moved onto the side image where I didn't have to draw as many blue lines but still needed to draw some.
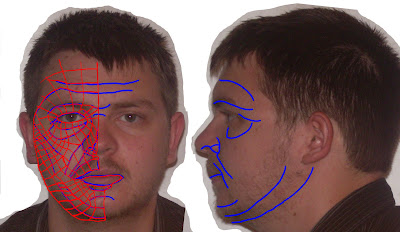
After this I moved onto the most time-consuming part of this task, which was to map out the topology. This involved drawing red quadrants between the blue lines. it was important not to make any triangular shapes as these would cause problems later on in 3DSMax. The quadrants did not have to be drawn on the profile view.
.jpg)
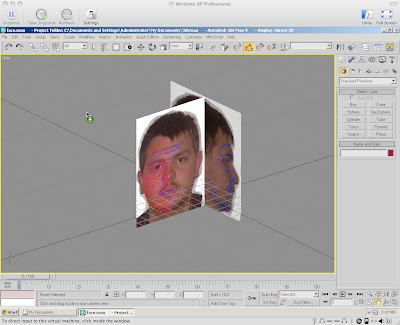
After this, I then had to move the image to 3dsmax. This involves creating a plane, choosing the image as the material. On import the image was scaled incorrectly. However it was possible to go into the features menu, and to turn on UVW mapping and then to press the fit bitmap option. This aligned the bitmap up correctly and then using the gizmo function, I was able to centre the image on my plane.
After doing this, I then needed to go back into the material editor and make the plane self illuminating -- this is so that it can be viewed from all angles and is not dependent on a light source.
After doing this I then had to clone the plane, and rotate it 90°. This gave me the image which you can see below. Finally, I had to align the bitmap correctly on this new duplicate object.
This is where the tutorial has finished for this week.
No comments:
Post a Comment